
How to Choose a 1/1 GN Pan: Size, Depth and Workflow
What 1/1 GN size means in a working kitchen
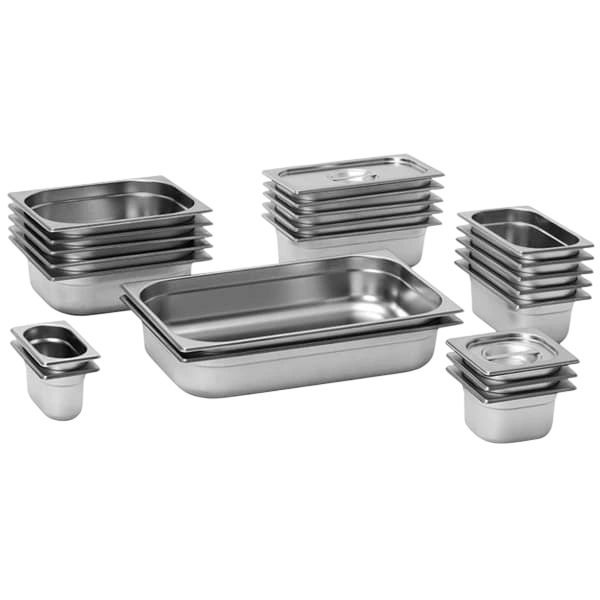
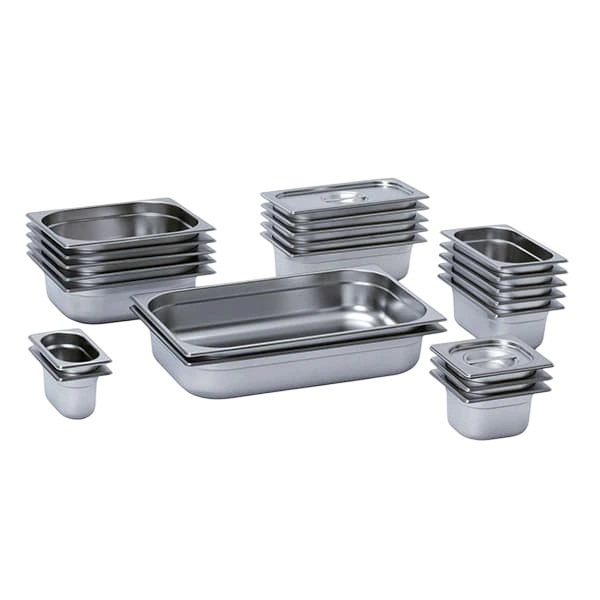
When a search says “1/1 GN size”, it is asking about a full-size Gastronorm pan. The useful distinction is that the fraction describes the pan’s footprint, while depth describes how much it can hold and how staff can use it. A full-size footprint is listed for the products here as 530 × 325 mm. The pan’s rim is designed to sit on compatible equipment or supports, but matching the fraction alone does not establish that every rack, lid, oven, bain-marie or refrigerated unit will accept a particular pan.
Think of the GN format as a shared kitchen layout. A pan may travel from prep to a holding or display area, then to storage, so a consistent footprint helps organise equipment and hand-offs. Before building a workflow around that convenience, check the receiving equipment’s own dimensions and supports, including whether its usable opening and internal depth accommodate the pan and any lid. Consider the route between stations too: a filled pan needs to be stable to lift and carry, and it should not obstruct the next task on a crowded bench.
The listed products are stainless steel. Depths range from a very shallow 20 mm tray to deeper options up to 200 mm, and one listing is perforated for draining or steaming. These are different working tools, even though they share a 1/1 footprint. Choosing a suitable depth means balancing volume against access, handling, storage, and the food’s purpose. A pan that is too shallow may require frequent replenishment; an unnecessarily deep one can make it harder to see, reach or portion the contents.
For a broader look at how GN footprint and depth relate to cooling decisions, see the stainless steel GN pan size, depth and cooling guide. This guide focuses on selecting a full-size pan for everyday workflow and matching the options to the jobs your team actually performs.
Choose the pan type and depth for the task
Start with what the pan has to do, rather than choosing depth by appearance. A shallow tray supports work where a low layer or easy access matters. A medium-depth pan offers more room while keeping contents relatively accessible. A deep pan suits larger batches or deeper portions, provided staff and equipment can handle the added load. A perforated pan has a distinct job: letting moisture pass through while retaining food that is suitable for the openings.
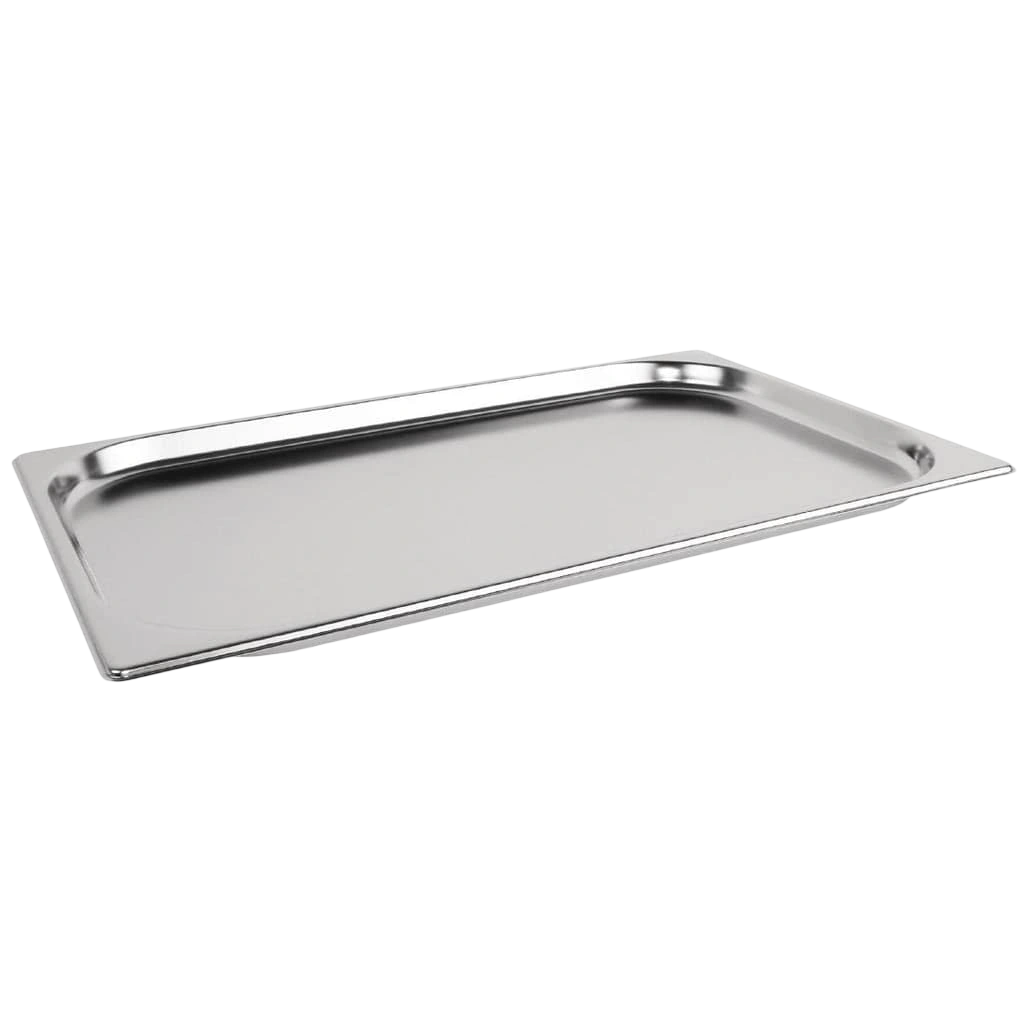
Shallow solid pans and trays: A shallow profile can be practical for foods arranged in a low layer, short-term holding, presentation, or moving items that staff need to reach without digging down through a deep container. The F.H.E 11020 and Vogue GC961 are both 20 mm deep. A shallow pan can also spread contents across a wider area, but it offers less room for a high-volume batch and may need more frequent replenishment. Use it when the food and the workflow benefit from easy access and a low profile, not as a universal replacement for a deeper storage pan.
Moderate-depth solid pans: The F.H.E 11065 at 65 mm and F.H.E 11100 at 100 mm provide a step up in depth. These can serve prep and holding jobs where a shallow tray would be filled too quickly, while keeping the contents easier to reach than a deep vessel. The right point depends on batch size, the food’s shape and how often staff need to stir, lift or portion it. A higher wall can contain more, but may make it less convenient to work from the bottom or inspect the contents at a glance.
Deep solid pans: The F.H.E 11150 and Vogue GC965 are 150 mm deep; the Mixrite 11200 and Kitchen Knock 350823 are 200 mm deep. These options give a kitchen more vertical room for larger batches or deeper portions. That can reduce the number of containers in use for a particular job, but a full pan becomes heavier and deeper contents may be harder to access. Plan who will lift it, where it will be placed, and whether the receiving equipment has enough clearance. A deeper pan is only useful when the handling and storage steps remain workable for the team.
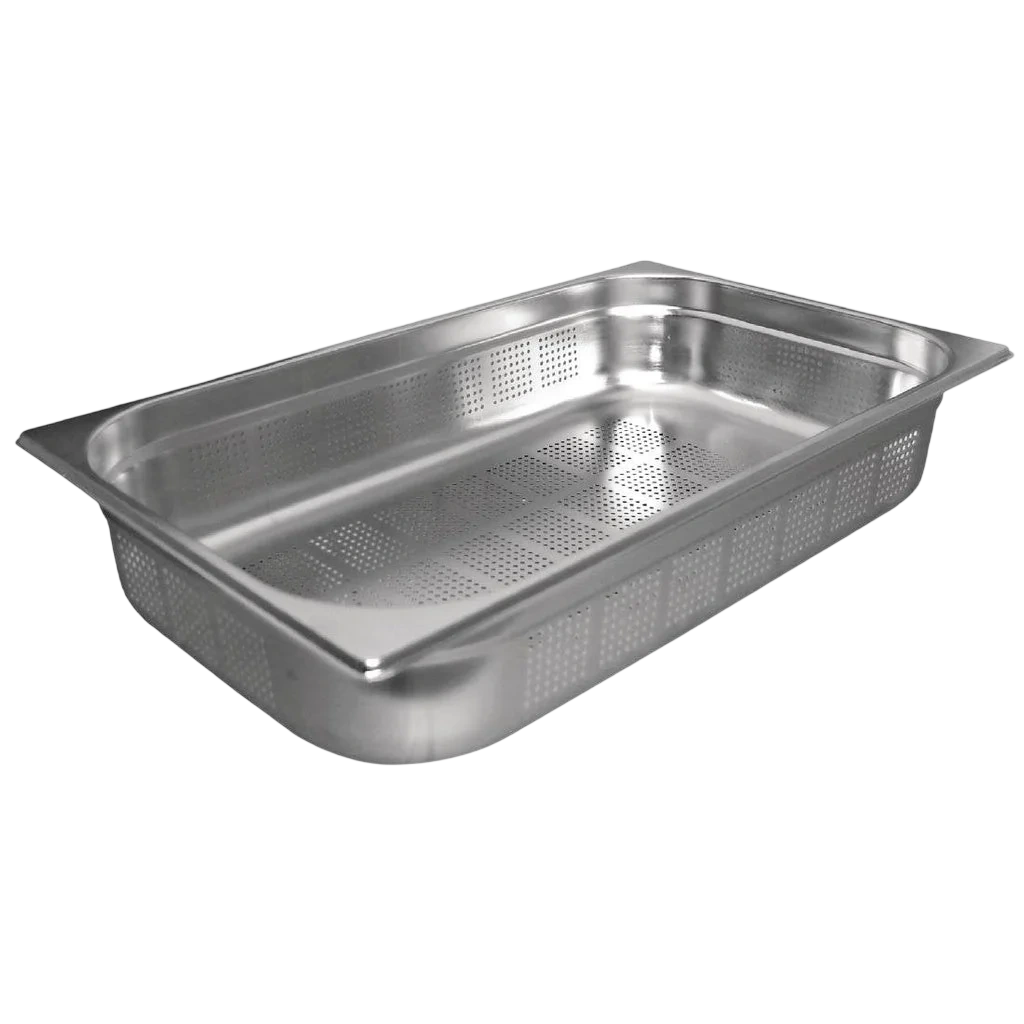
Perforated pans: The Vogue DN700 has a perforated base and sides. Its page describes it for steaming food or draining away fats, juices or moisture, with small holes intended to let water drain without food escaping. Choose it when drainage is part of the process. It will not contain liquids in the same way as a solid pan, so plan what sits beneath it and how staff move it after draining. It can also be used for cooking or storing food according to its page, but the perforations mean it serves a different purpose from a solid holding pan.
Material and finish: All options in this selection are stainless steel. The F.H.E 11100 truth lists 0.6 mm material thickness; other listed product truths describe stainless steel without a thickness. Vogue product pages describe their pans as heavy-duty, and the Kitchen Knock page describes an electropolished finish, but those descriptions should be considered only for the named products. For routine selection, focus first on pan geometry, task, handling and compatibility. If a finish or construction detail matters to your cleaning routine or expected handling, compare the exact product listing rather than assuming all stainless pans share it.
Size the pan to service volume and staff workload
A 1/1 footprint does not tell you how much a pan can hold. The listed depths illustrate the main sizing choice: 20, 40, 65, 100, 150 or 200 mm. Capacity figures appear on some individual Vogue pages, but not across every product, so do not infer a litre capacity from depth alone. Foods pack differently, and the usable quantity depends on the recipe, fill level and how staff need to access the contents. Treat depth as a planning dimension, then test the pan against the actual portioning and replenishment routine.
Think in service periods. For a small prep run or a low-volume station, a shallow pan may give staff a clear view and make it easy to reach the food. For a busy service with repeated replenishment, more depth can mean fewer changes of container, as long as the staff member can safely handle the load. If a pan is for batch preparation, consider the amount prepared in one cycle and how it will be divided among cooking, cooling, storage or service equipment. A single deep pan may not fit the workflow as well as multiple shallower pans if different stages need separate access.
Use the venue’s own demand pattern to estimate working quantity. Note how much product a station holds at opening, how quickly it is used during the busiest period, and how often staff can replenish it without disrupting other tasks. Then compare that quantity with the container depth and practical fill level. Leave room for handling and avoid filling so high that contents spill when moved. If you are uncertain, trial the preferred footprint and depth with a representative batch during normal prep. Observe whether staff can lift, move, cover, stack or portion the pan without awkward reaching.
Deep pans can be a poor fit when the contents are difficult to reach or when staff must move a filled container frequently. A larger nominal volume is not automatically a faster workflow. Conversely, shallow pans may demand extra refills or more containers on the bench during peak work. The right balance is the smallest practical set of pans that covers the distinct jobs in the venue: for example, shallow trays for accessible presentation and deeper solid pans for bulk holding, with a perforated option only where draining is needed.
For cooling workflows, pan depth should be considered alongside the food, batch and cooling method rather than treated as a standalone guarantee. The related GN sizes, depth and cooling guide discusses that decision in more detail. Where the choice involves broader kitchen equipment planning, the article on bratt pans and tilting boiling pans covers equipment sizing and installation considerations for batch cooking.
Check equipment fit, site access and services
A GN pan is not a powered appliance, so it does not need an electrical supply or water connection of its own. The site checks are about the equipment and workflow around it. Confirm that the intended oven, bain-marie, food merchandiser, refrigerator, rack or prep station is designed for the selected GN fraction and has the depth clearance required. If using a lid, check that the lid is compatible with the pan and the station. A matching fraction is a starting point, not a guarantee of fit.
Measure the space where the pan will sit and the route it must travel. Include the usable internal space of the appliance, the height available beneath shelves or covers, and the area needed for staff to lift it out. Check bench space for staging a pan while it is being filled or emptied. At a service counter, consider whether the rim and pan position leave enough room for adjacent containers and for staff to serve without knocking neighbouring items. In storage, make sure shelves and racks support the format and that pans can be reached without unsafe stretching.
Site access matters when a pan is moved between kitchen areas or delivered as part of a larger equipment fit-out. Product dimensions for individual options are listed on their pages. Compare those dimensions with the route through doors, corridors, lifts and around corners if the pan will be carried through a constrained area or stored in a close-fitting compartment. For these pans, the footprint is common across the listed choices, but the depth changes the vertical clearance needed.
Ventilation and plumbing requirements belong to the appliances and room layout, not to the pan itself. If the pan will be used with an oven, steamer, bain-marie, display unit or wash area, follow the site and equipment requirements for that installation. Plan a nearby sink or wash-up path that suits the venue’s cleaning routine, and avoid placing staging areas where wet pans or drips interfere with electrical equipment or service traffic. Ask the equipment installer or relevant trade to confirm requirements when a new appliance or service connection is part of the project.
For the pans themselves, check the exact dimensions and material for the option under consideration. The product links below identify the listed variants. Use those details to confirm fit against your equipment and storage plan before adding pans to a workflow. If you are planning a larger equipment purchase or installation, the bratt pan buying guide linked above is relevant to site services and space planning for that equipment category.
Cleaning, daily care and long-term use
Build pan care into the normal flow between tasks. Empty the pan promptly, remove food residue, wash and sanitise it according to the venue’s procedures, then dry and store it so it is ready for the next use. The smooth surfaces and open form of solid pans make them straightforward to inspect, while rims and corners still deserve attention because residue can collect where surfaces meet. For perforated pans, check the holes and surrounding surfaces so trapped food does not remain after washing.
Use cleaning tools and products suitable for stainless steel and follow the venue’s established chemical directions. Avoid rough handling that can deform rims or corners, and do not use a damaged pan where its condition affects safe handling or the intended task. Stack pans carefully so they do not jam together or become difficult to separate during a busy shift. Keep lids with the matching format where practical, and check their fit during routine setup rather than at the point of service.
Some product pages state that a named pan is oven, freezer or dishwasher safe. Those claims are specific to the products whose pages make them. For example, Vogue’s GC961 and GC965 pages describe those pans as suitable for oven, freezer and dishwasher use, while the Kitchen Knock 350823 page identifies dishwasher use and a stated temperature range. Follow the exact product directions and the equipment manufacturer’s instructions for any appliance use. Do not generalise a feature from one model to another simply because the pans share a GN footprint.
Over the life of the pan, inspect it during normal cleaning for bent rims, damaged corners, sharp edges, corrosion or other changes that affect use. Remove a pan from the workflow if it no longer sits securely in its support or is difficult to clean effectively. Keep the storage area organised by footprint and depth, so staff can identify the right pan quickly and avoid forcing an oversized or incompatible container into a rack. These small habits support consistent handling and keep the station ready for service.
Plan for the pan’s full route through the kitchen: receiving, storage, preparation, cooking or holding, transport, washing and return to storage. The better the pan fits each hand-off, the less likely it is to become an awkward spare item. When replacing or adding pans, compare the old pan’s footprint and depth with the new one, and check the associated lid and equipment fit before the change reaches a live service.
Match the listed pans to your workflow
For low-profile prep, presentation or shallow contents: The F.H.E 11020 is a 20 mm deep stainless steel pan. It suits a workflow where a shallow layer and quick access matter. The Vogue GC961 is also 20 mm deep; its page describes it as heavy-duty and suitable for oven, freezer and dishwasher use. Select between them by checking the exact product features and compatibility your task needs.
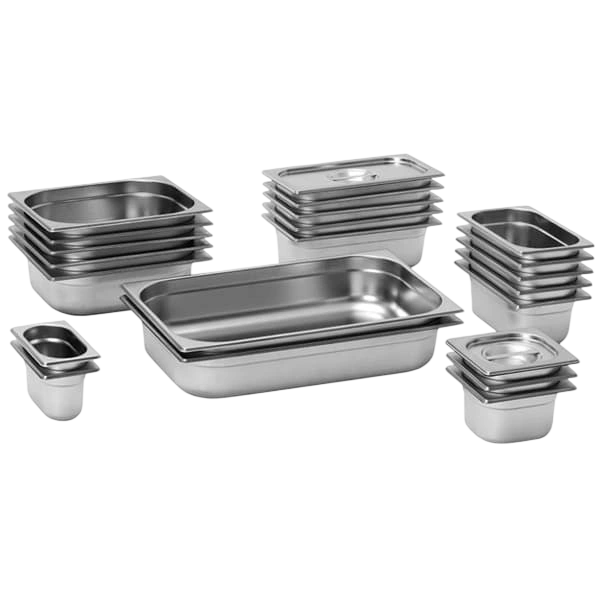
For draining or steaming: The Vogue DN700 is the perforated option. Its page identifies steaming and draining fats, juices or moisture as uses. Choose it where liquid needs to pass through, and plan for collection beneath the pan. It is not the substitute for a solid pan when the task requires retaining liquid.
For everyday prep and moderate holding: The F.H.E 11065 offers 65 mm depth, while the F.H.E 11100 offers 100 mm depth and lists 0.6 mm stainless steel. These are practical candidates when a shallow tray would be too limited but the deepest pan would make access awkward. Pick based on actual batch quantity and the space available in the receiving equipment.
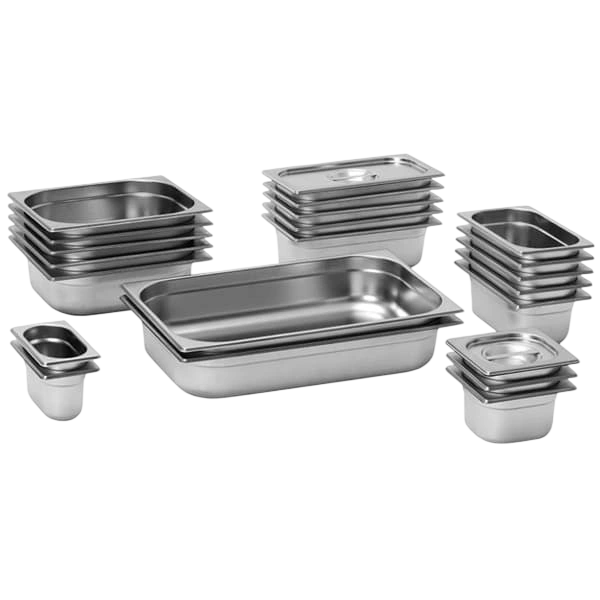
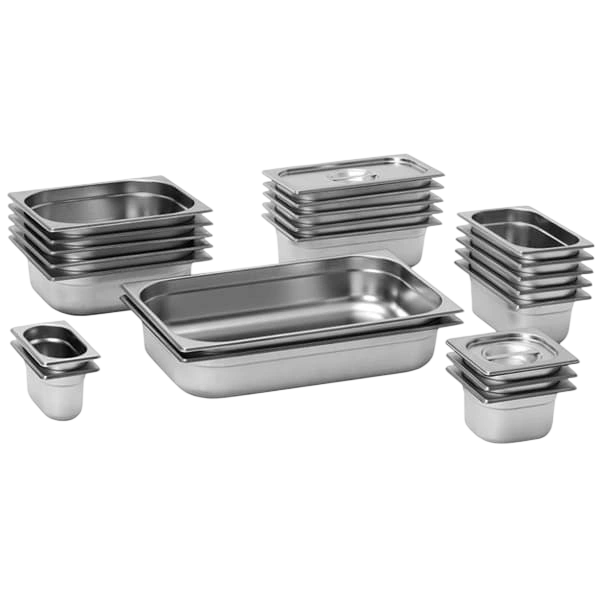
For deeper portions or a larger batch: The F.H.E 11150 and Vogue GC965 are both 150 mm deep. GC965’s page lists a 20-litre capacity and describes oven, freezer and dishwasher use. For a deeper 200 mm option, compare the Mixrite 11200 and Kitchen Knock 350823. The Kitchen Knock page describes an electropolished finish and identifies its listed uses; check the exact model details against your workflow.
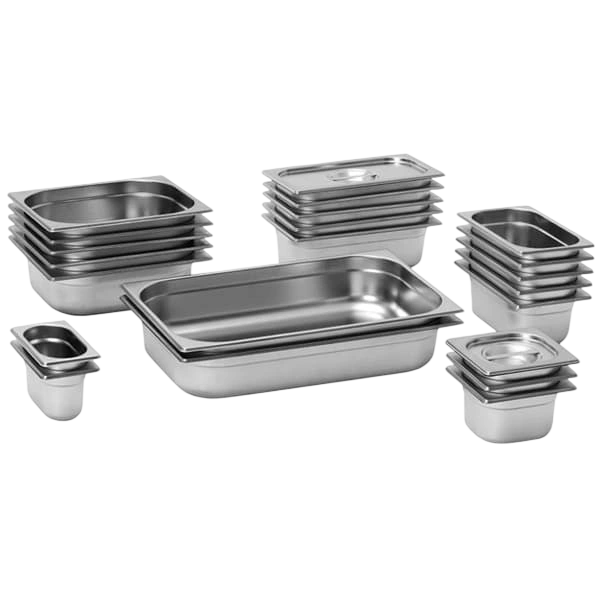
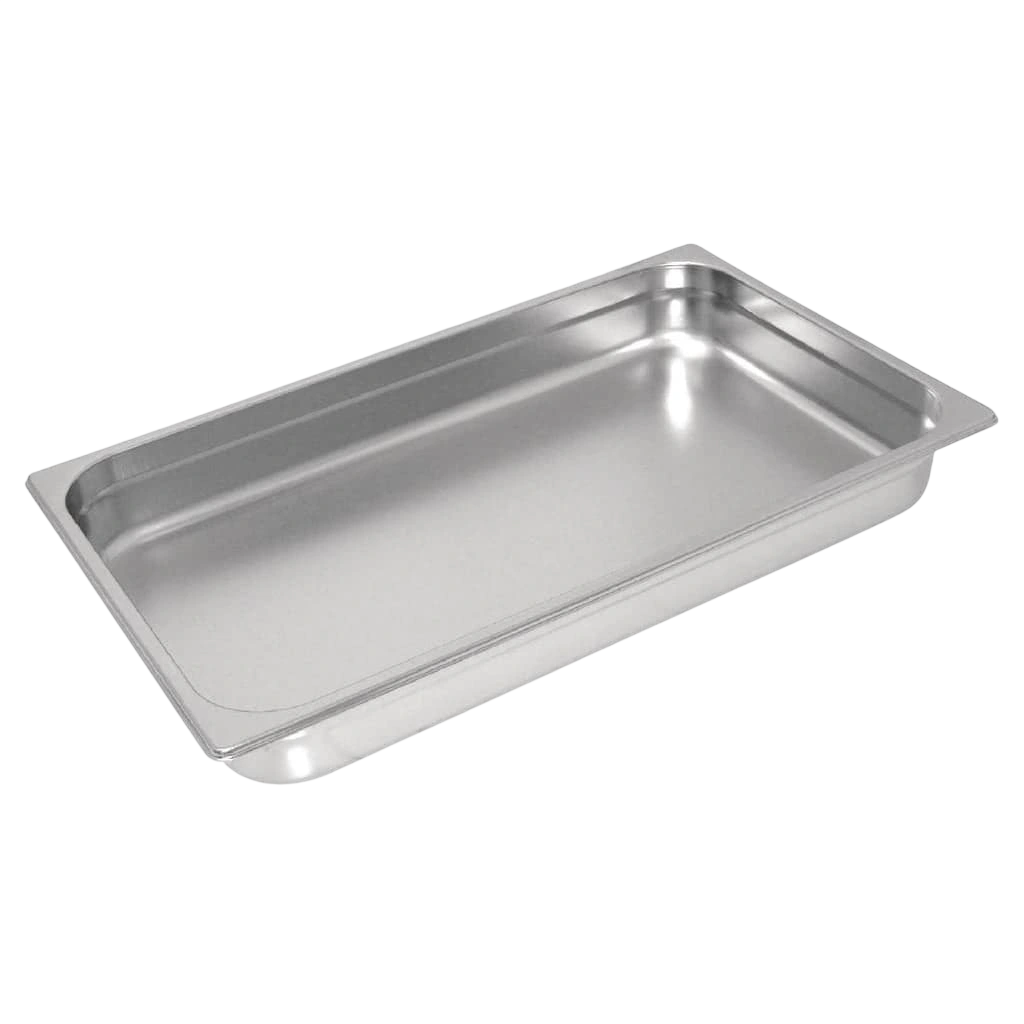
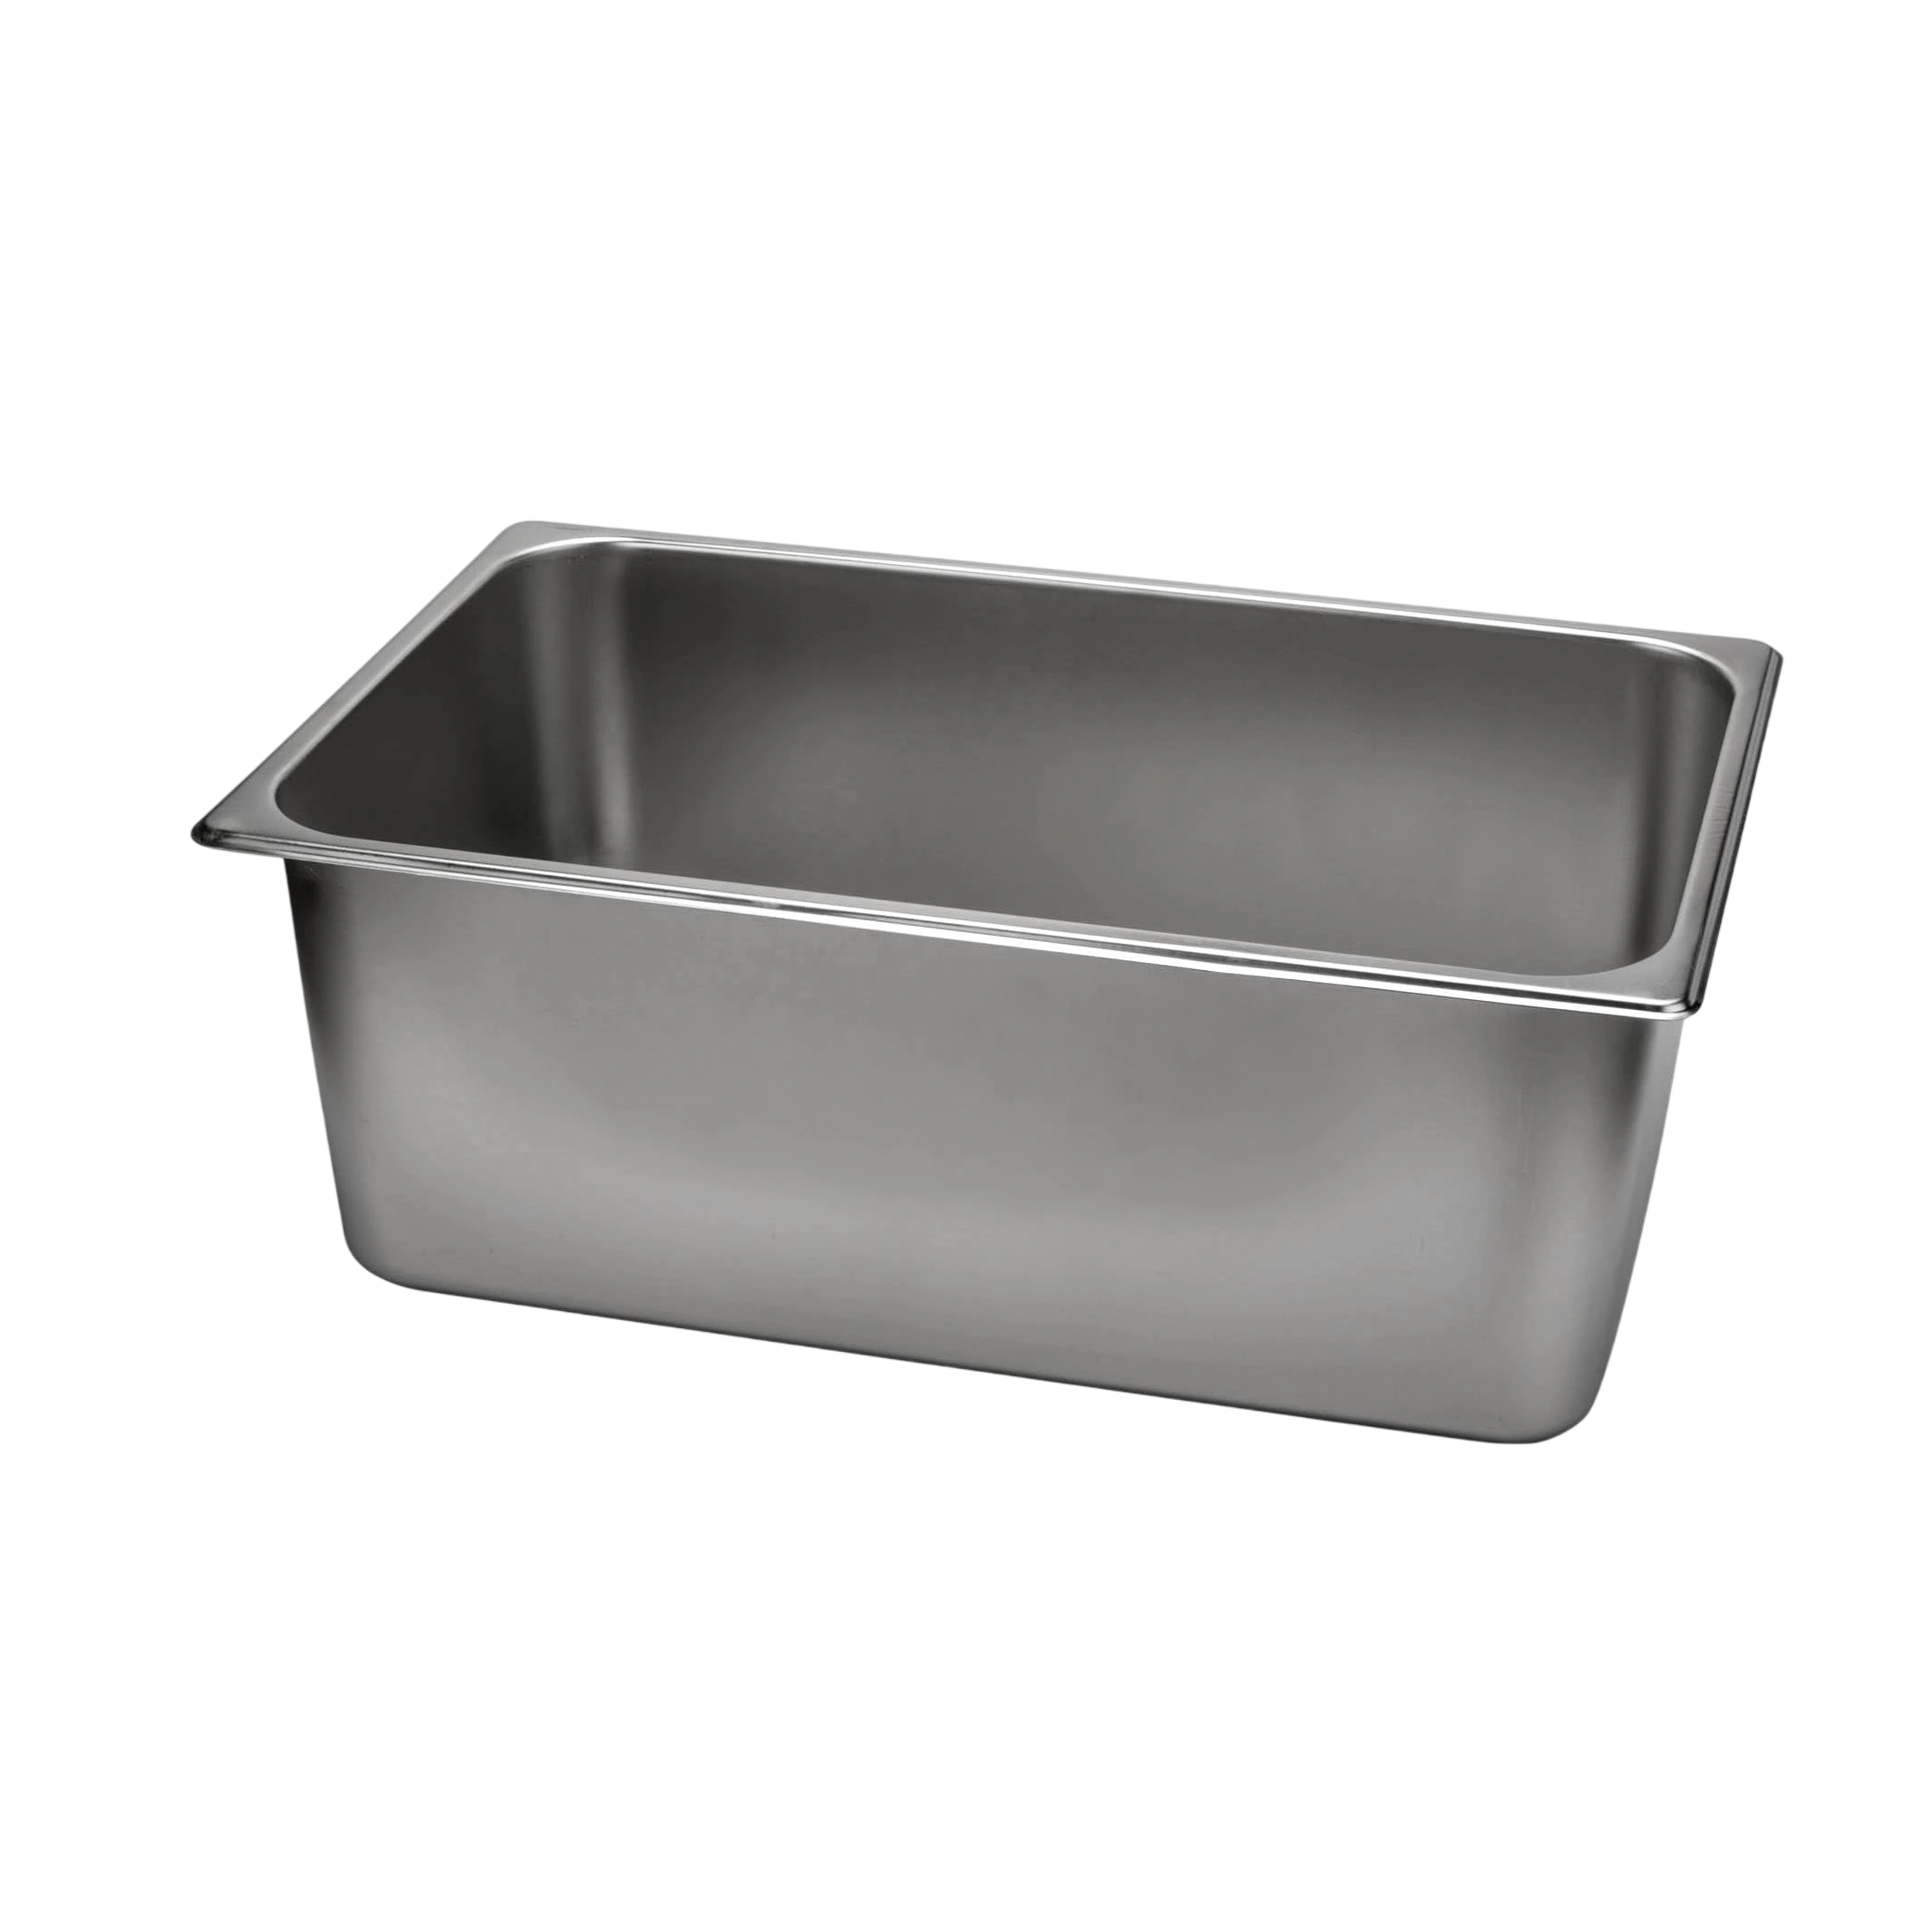
Each of these links leads to a specific product. Compare the stated dimensions, features and intended use with the equipment and task before selecting a pan. To browse the full selection of full-size stainless steel pans, view the 1/1 size GN pan range.
Frequently asked questions
What size is a 1/1 GN pan?
The listed 1/1 pans here have a footprint of 530 × 325 mm. Depth varies by model, so check the product dimensions as well as the fraction when matching a pan to equipment.
What does 1/1 mean on a gastronorm tray?
It identifies the full-size GN format or footprint. It does not specify how deep the pan is or how much it holds. Compare the depth and the intended use separately.
How do I choose between 1/1 GN pan depths?
Choose a depth according to the batch, food access and handling routine. Shallow pans support low layers and easy reach; deeper pans provide more vertical room but can be harder to handle when full. Confirm that the equipment has clearance for the chosen depth.
Is a perforated 1/1 GN pan the same as a solid pan?
No. The Vogue DN700 has perforations and is described for steaming and draining moisture, fats or juices. Use a solid pan when the task needs to contain liquid.
Do all 1/1 GN pans fit every bain-marie or oven?
The shared fraction helps identify the format, but it does not guarantee compatibility with every appliance, rack or lid. Check the equipment’s usable dimensions, supports and depth clearance against the exact pan.
What should I check before choosing a 1/1 tray?
Confirm the footprint, depth, solid or perforated construction, task, likely batch size, access for staff, lid fit, storage arrangement and compatibility with the equipment that will receive the pan.